Porsche 992 RevClock COLLECTION STL 3MF Wall Clock DIGITAL FILE
Porsche 992 RevClock COLLECTION STL 3MF Wall Clock DIGITAL FILE
Impossibile caricare la disponibilità di ritiro
PROGETTATO E PRODOTTO DA LUCA RUGGERI
- WORLDWIDE SHIPPING
- HANDMADE IN ITALY
- DELIVERED in 2-7 business day
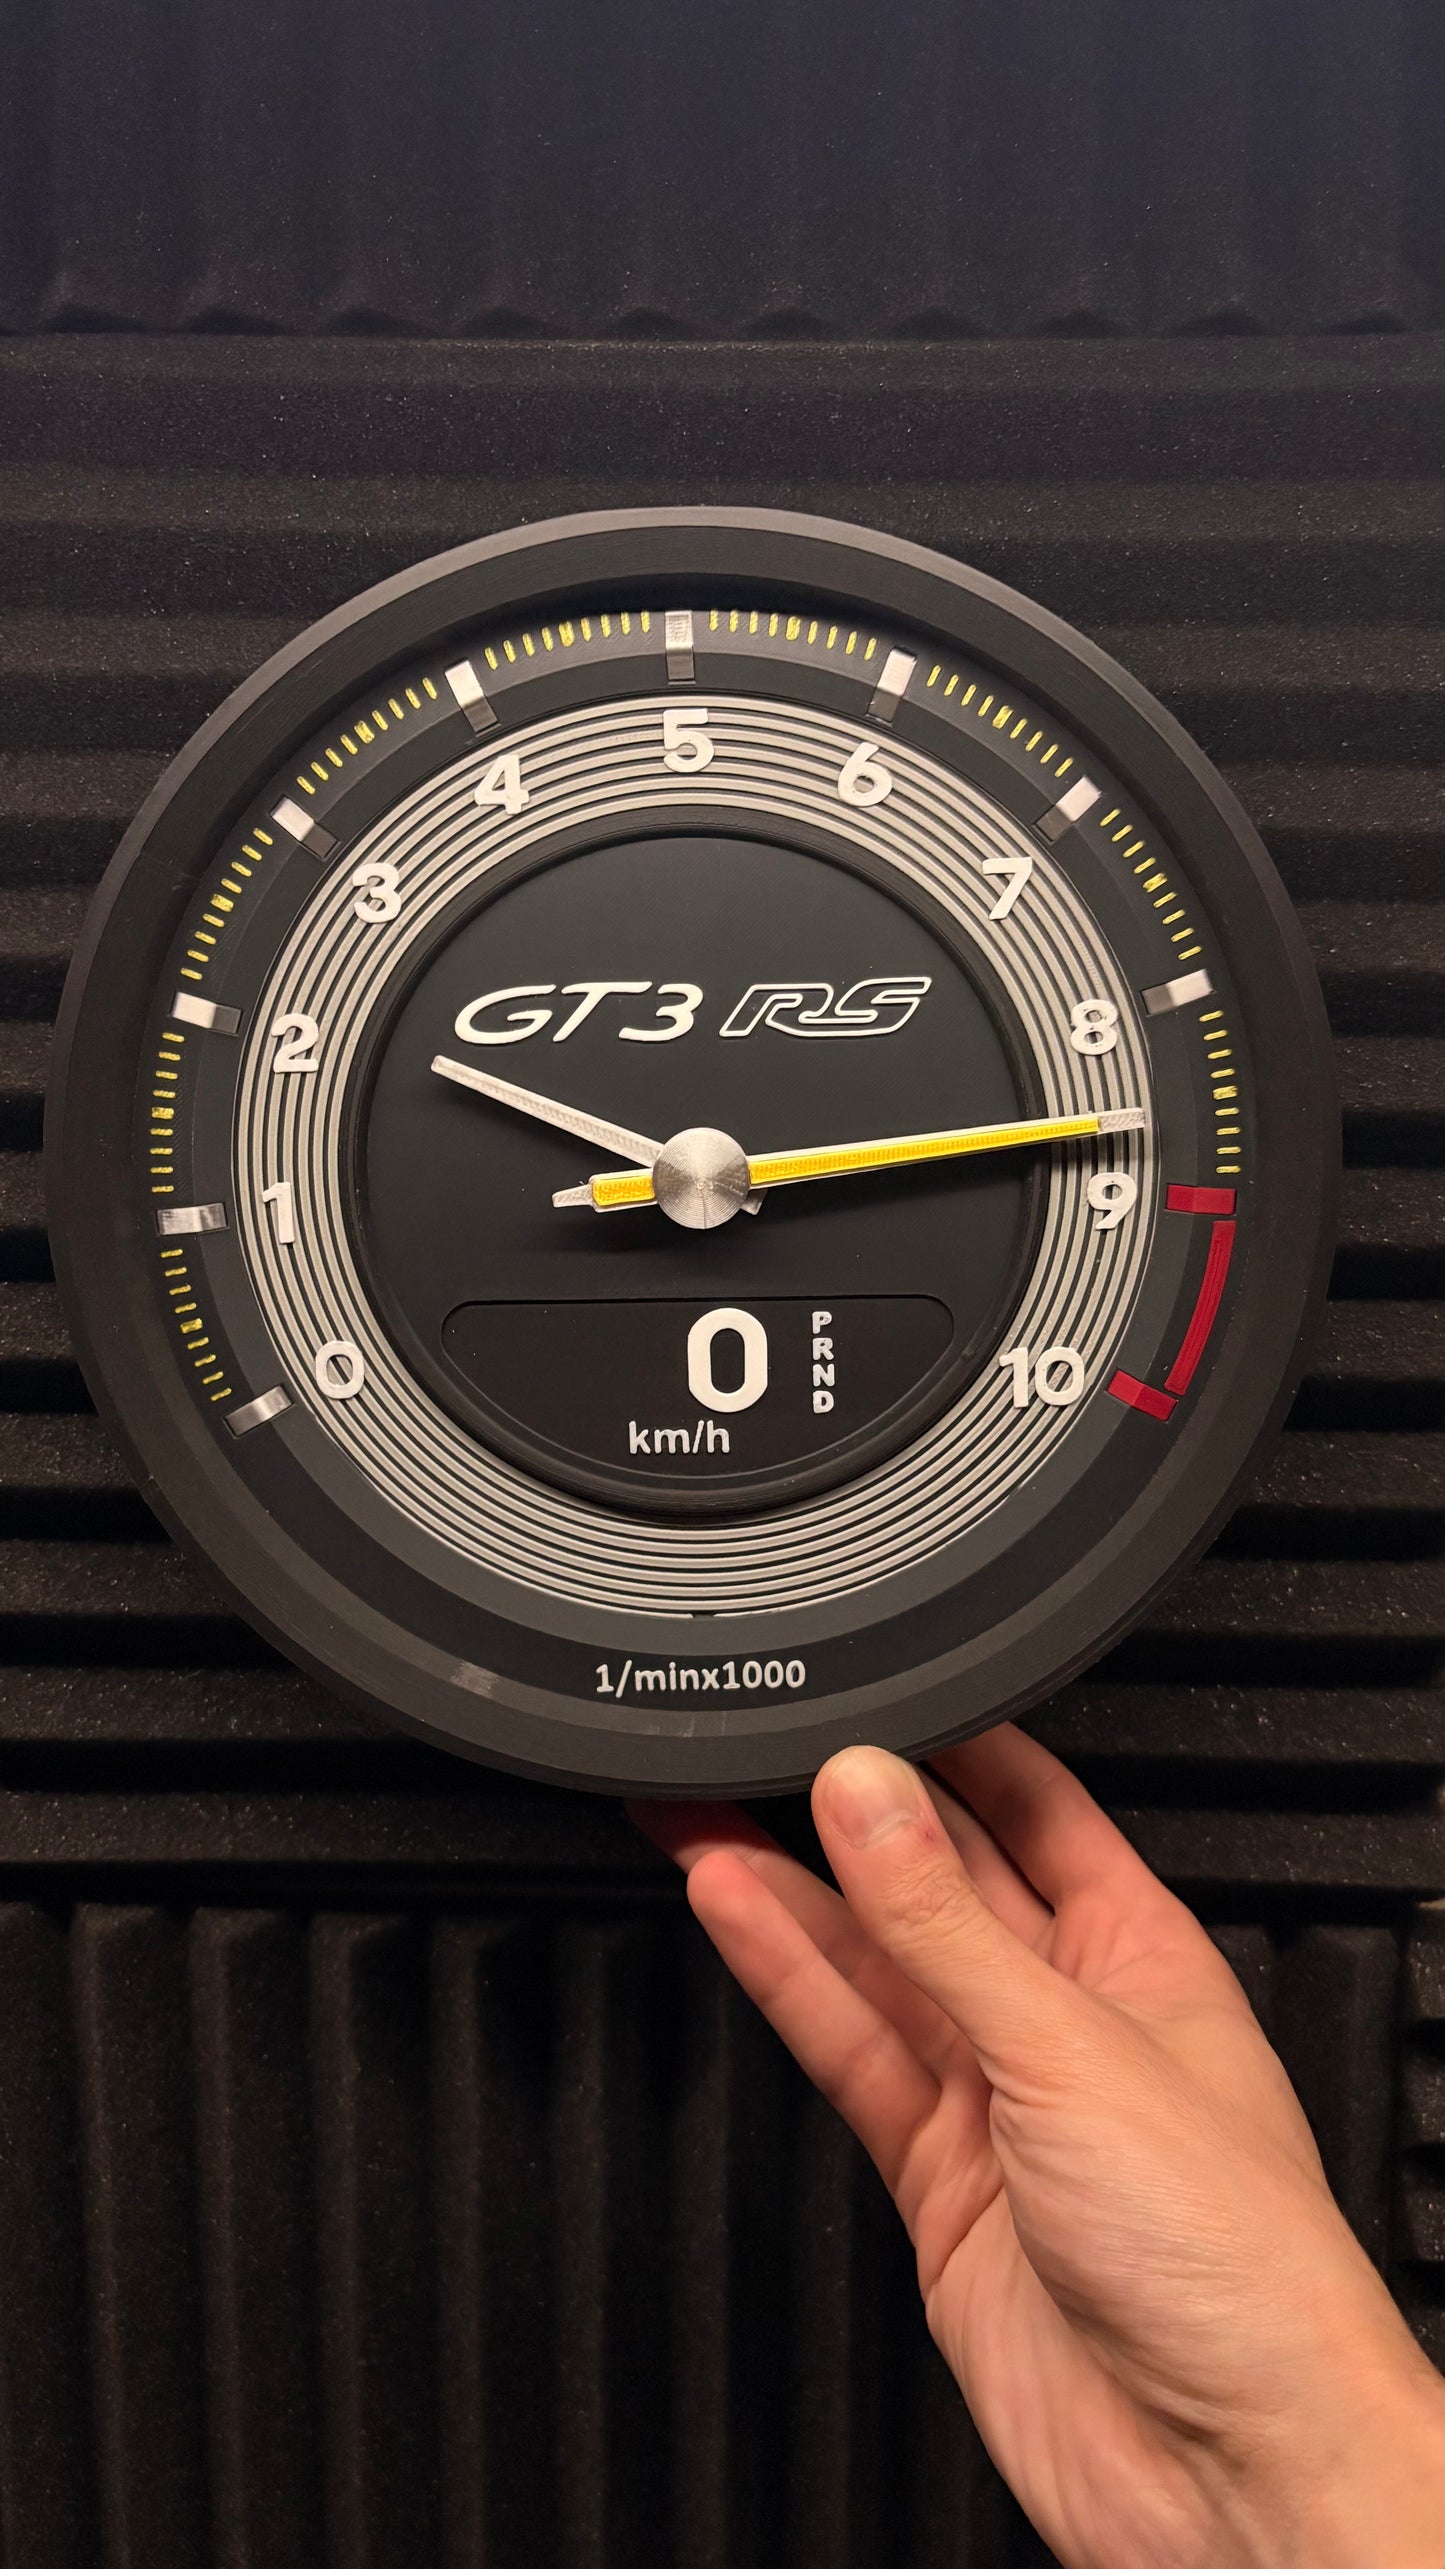
Bring one of the most iconic tachometers ever made straight to your wall.
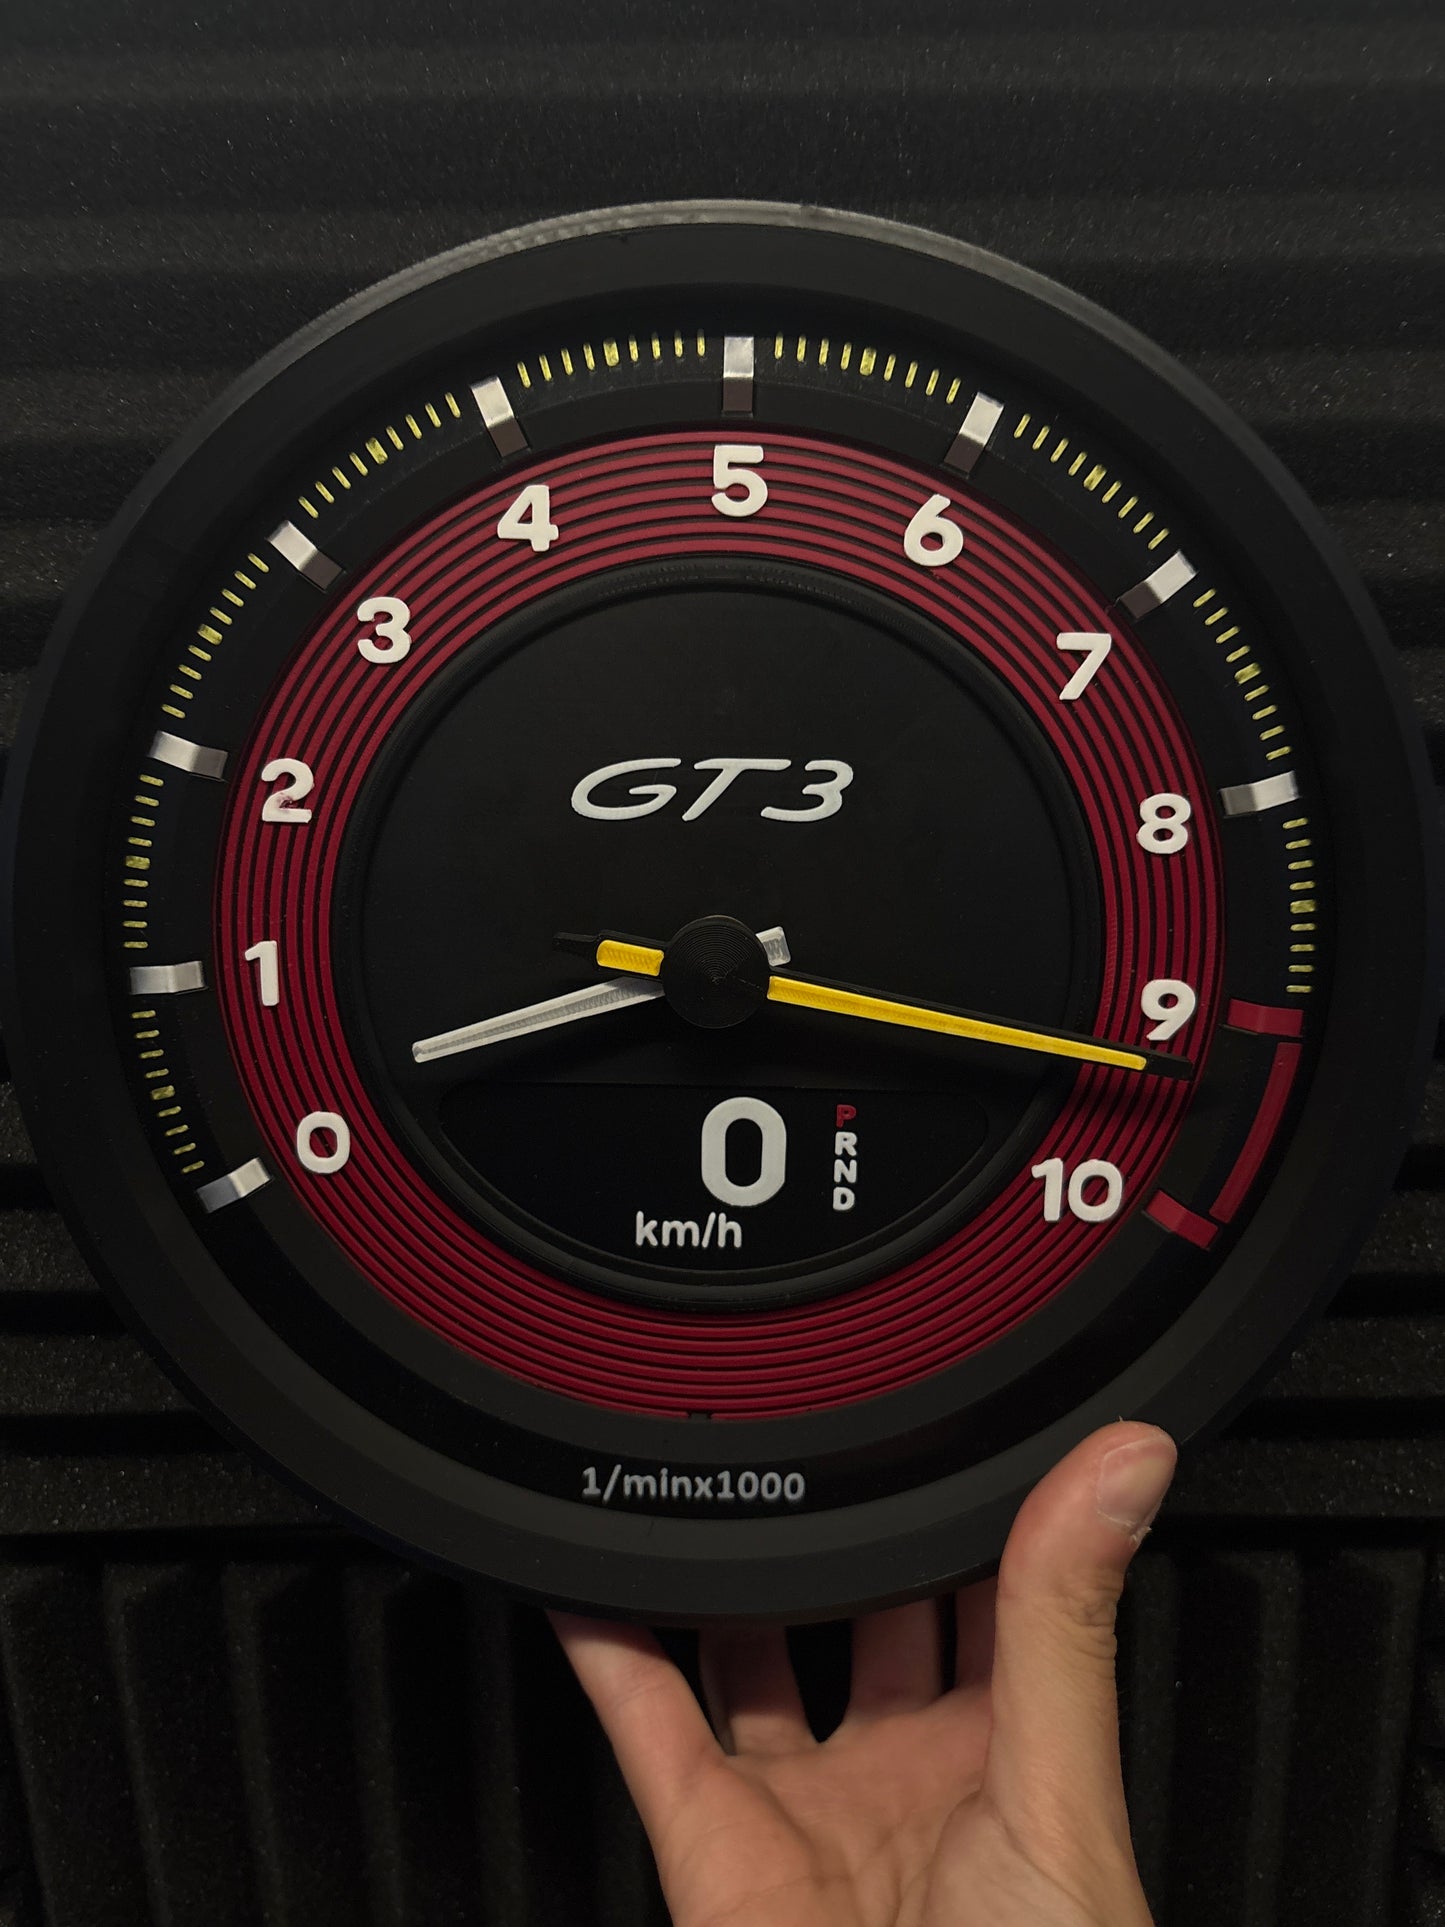
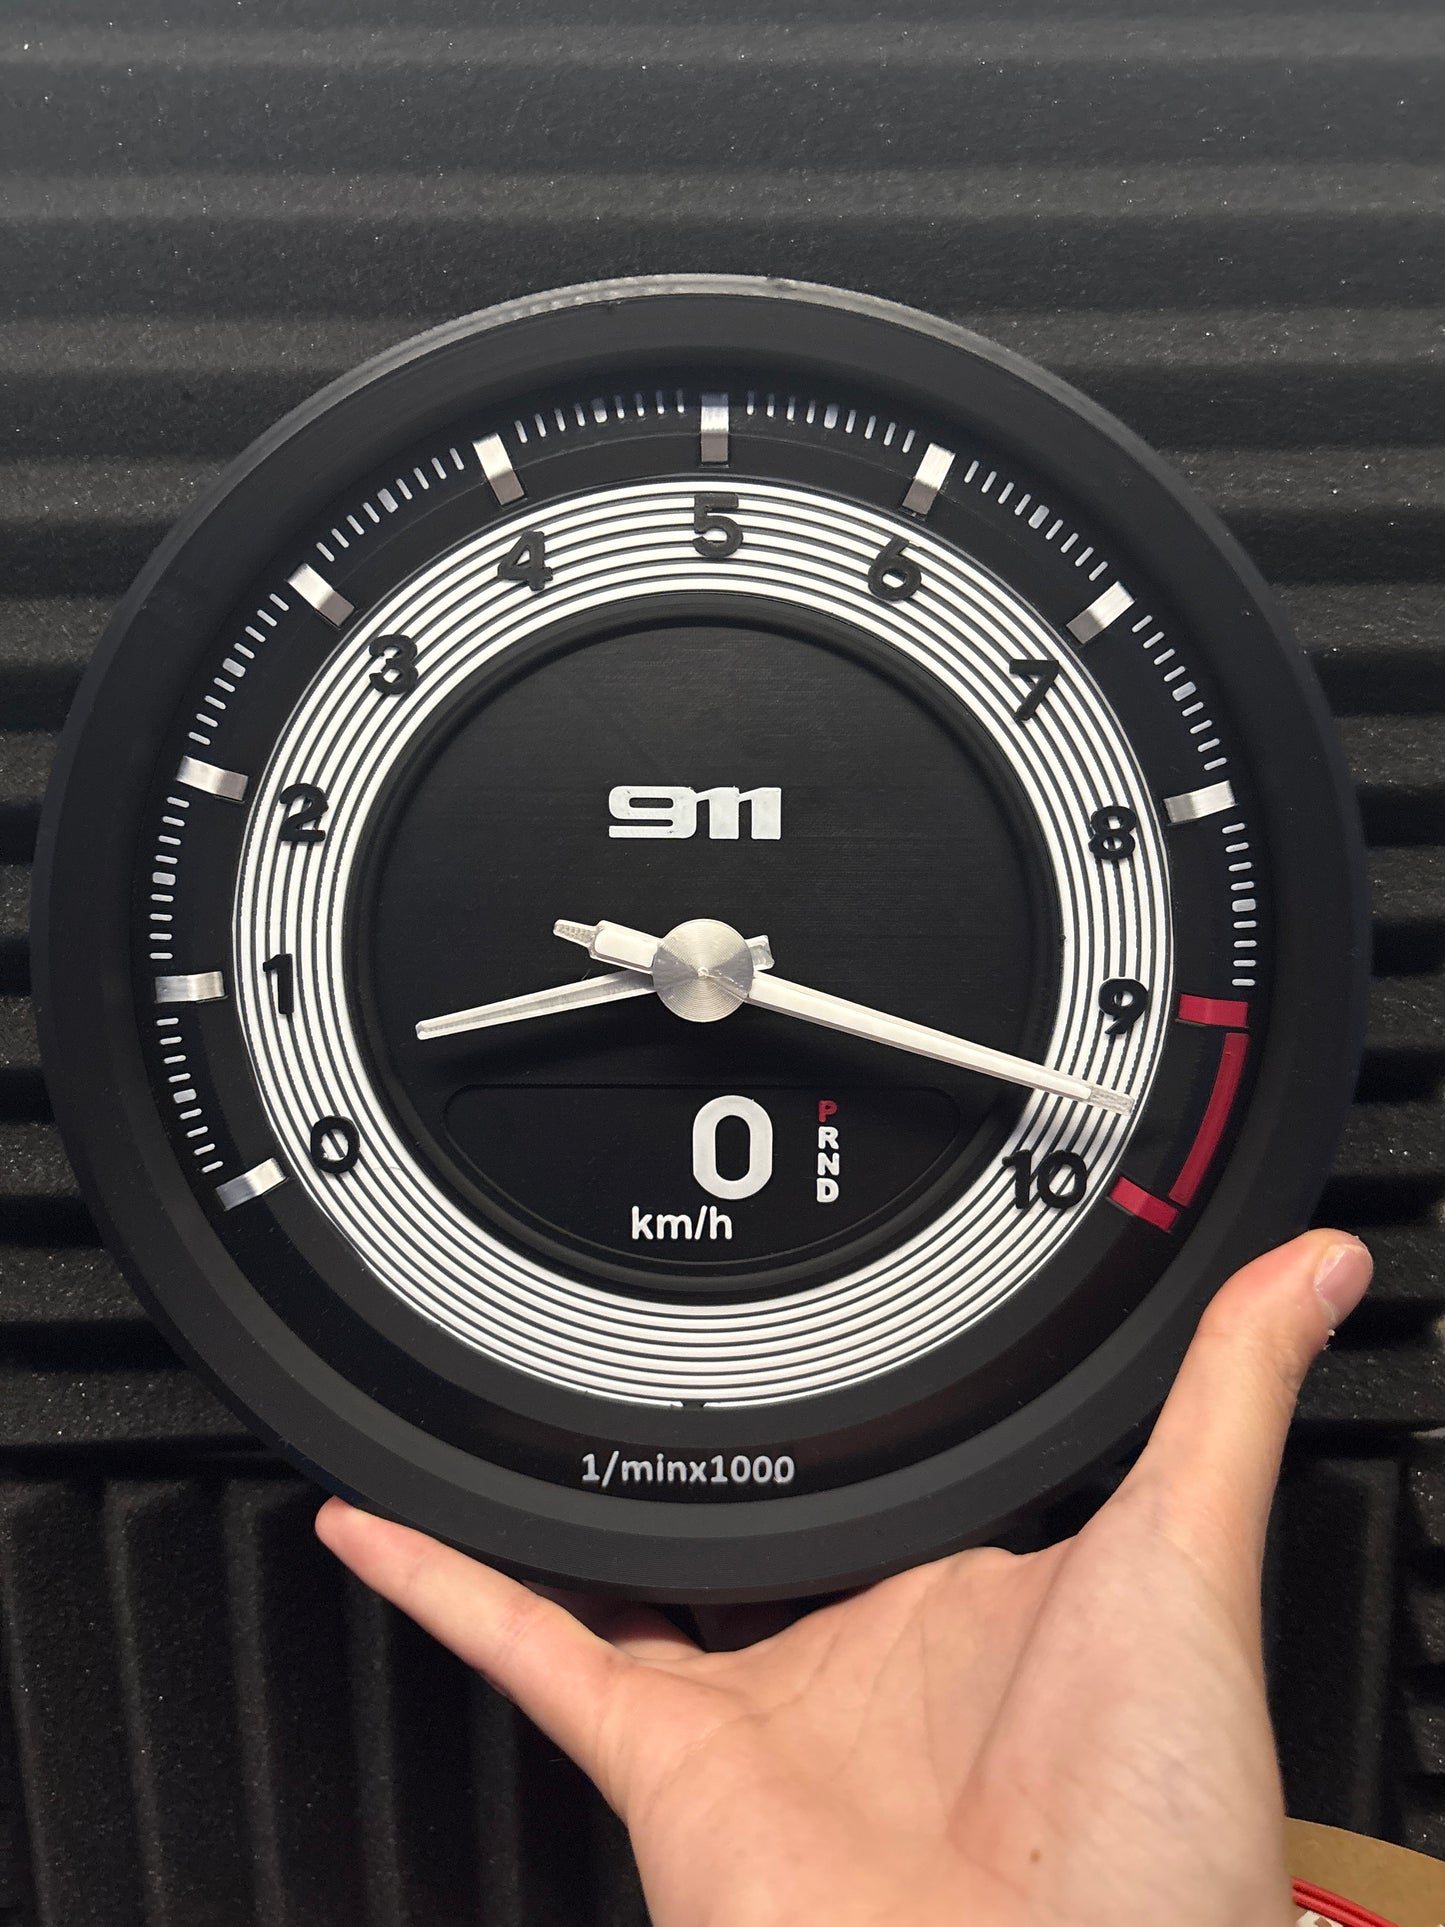
This 3D printable wall clock is inspired by the legendary Porsche 992 GT3 RS dashboard, redesigned with precision to recreate the aggressive look and racing spirit of the original instrument.
Every detail has been carefully modeled from scratch to deliver a clean, high-quality result once printed.
What’s included (STL files):
- Clock base (main structure)
- 10,000 RPM tachometer ring
- Center cap with GT3 RS logo
- Partial RPM sub-ring
- Hour and minute hands
- Bonus for supporters
- Personal Use License
- 3mf with all file
All components are separated for optimal printing, finishing, and assembly.
Key Features:
- Designed for FDM 3D printing
- Clean tolerances for easy assembly
- High-detail surfaces for a premium look
- Modular design for customization (colors, finishes, details)
- Compatible with standard clock mechanisms
Perfect for:
- Car enthusiasts & Porsche lovers
- Sim racing setups
- Garage, office or studio decoration
- Unique handmade gifts
Notes:
This is a digital product – no physical item will be shipped.
You will receive STL files ready to be sliced and printed.
- Personal use only
- Commercial use NOT allowed
- You cannot:
- resell the files
- share the files
- upload them on other platforms
- You CAN:
- print for yourself
Recommended settings:
- Layer height: 0.1–0.2 mm
- Use fine resolution for best detail on the dial(Line width: 0.38-0,40mm)
- Multi-color printing or manual filament swap suggested
- For smooth surface Ironing required: Speed:60mm/s - Top Surfaces - Flow: 25%
Assembly Guide
The clock is designed for a simple and precise assembly process. Follow these steps:
- Insert the clock mechanism into the base from the back side, ensuring it sits flush and stable.
-
Place the GT3 RS center cap on the front.
Insert it with a slight offset (about 30°), then rotate it clockwise until it locks firmly into position. -
Assemble the tachometer rings:
Fit the 10,000 RPM main ring together with the partial RPM sub-ring, aligning them correctly. -
Mount the rings onto the base:
Press the assembled rings into the three alignment pins located on the base (positioned at 120° from each other). - Install the clock hands (hour and minute) onto the mechanism.
Make sure all parts are properly seated before final use.
FAQ – Frequently Asked Questions
Do I receive a physical clock?
No. This is a digital download including STL files only.
What do I need to build it?
- A 3D printer (FDM recommended)
- A standard clock mechanism (widely available online)
- Basic assembly (no glue required if printed correctly)
Is it easy to assemble?
Yes. The model is designed with precise tolerances and alignment features, making assembly straightforward even for beginners.
Can I print it in multiple colors?
Absolutely. The design is modular, allowing:
- Multi-color printing
- Filament swaps
- Custom finishes
What printer settings should I use?
- Layer height: 0.12–0.2 mm
- Slower speeds for best surface quality
- Fine detail settings recommended for the dial
- Ironing: Top surfaces with 60mm/s and 30% flow ratio
Does it require supports?
Base clock and partial rpm ring yes! Other parts are optimized to be printed without supports, depending on your printer and settings.
Can I sell the physical printed clock?
Yes, but only if your license allows it (depending on where you purchased/downloaded the file).
Reselling or sharing the STL files is strictly prohibited.
Share